How To Master Pi IoT VNC Download For Seamless Remote Access
Hey there, tech enthusiasts! Let’s dive into something that’s been blowing up the tech world lately – Pi IoT VNC download. If you’re reading this, chances are you’ve either heard about it or you’re already knee-deep in the world of IoT and Raspberry Pi. But wait, what exactly is VNC, and why does it matter so much when you’re working with IoT projects? Stick around, because we’re about to break it down for you in a way that’ll make your tech-savvy heart skip a beat.
Think of your Raspberry Pi as the brains of your home automation system. Now, imagine being able to control it from anywhere in the world – that’s where VNC comes in. VNC, or Virtual Network Computing, is basically your gateway to remote control heaven. With a Pi IoT VNC download, you can access your Pi’s desktop interface from any device, no matter where you are. Sounds cool, right? Let’s dig deeper!
Before we jump into the nitty-gritty, let’s address the elephant in the room. A lot of people think setting up VNC on a Pi is complicated, but trust me, it’s not. With the right steps and a bit of patience, you’ll be rocking your remote access game in no time. So, buckle up, because we’re about to take you on a journey through the world of Pi IoT VNC downloads and everything that comes with it.
Read also:What Happened To Toby Keiths Teeth A Comprehensive Exploration
Understanding the Basics of Pi IoT VNC
Alright, so you’ve heard about VNC and Raspberry Pi, but do you really know how they work together? Let’s break it down. When you download VNC for your Pi IoT project, you’re essentially enabling remote desktop functionality. This means you can control your Pi from any device with an internet connection. Whether you’re troubleshooting from the other side of the world or just want to check on your home automation system while you’re at work, VNC makes it all possible.
Here’s the kicker – VNC isn’t just about remote access. It’s about efficiency, convenience, and taking your IoT projects to the next level. With VNC, you can manage multiple devices from a single location, monitor system performance in real-time, and even collaborate with others on your projects. And the best part? It’s super easy to set up, even for beginners.
Why Pi IoT VNC Matters in Today’s Tech World
Let’s face it – the world is going wireless, and IoT is at the forefront of this revolution. With devices becoming smarter and more interconnected, the demand for efficient remote management solutions has never been higher. This is where Pi IoT VNC shines. By enabling seamless remote access to your Pi, VNC empowers you to take control of your IoT projects like never before.
But why should you care? Well, imagine being able to adjust your smart thermostat from your phone while you’re on vacation. Or, picture yourself troubleshooting a home security system glitch without having to physically be there. These are just a few examples of how Pi IoT VNC can transform your tech experience. It’s not just about convenience – it’s about revolutionizing the way we interact with technology.
Steps to Download and Install Pi IoT VNC
Now that you know why Pi IoT VNC is a game-changer, let’s talk about how to get it up and running. Here’s a step-by-step guide to downloading and installing VNC on your Raspberry Pi:
Step 1: Update Your Pi
Before you do anything else, make sure your Pi’s operating system is up to date. Open the terminal and type in the following commands:
Read also:Simon Cowell The Visionary Behind Modern Music And Entertainment
sudo apt update and sudo apt upgrade. This ensures that your Pi is running the latest software versions, which is crucial for compatibility with VNC.
Step 2: Install VNC Server
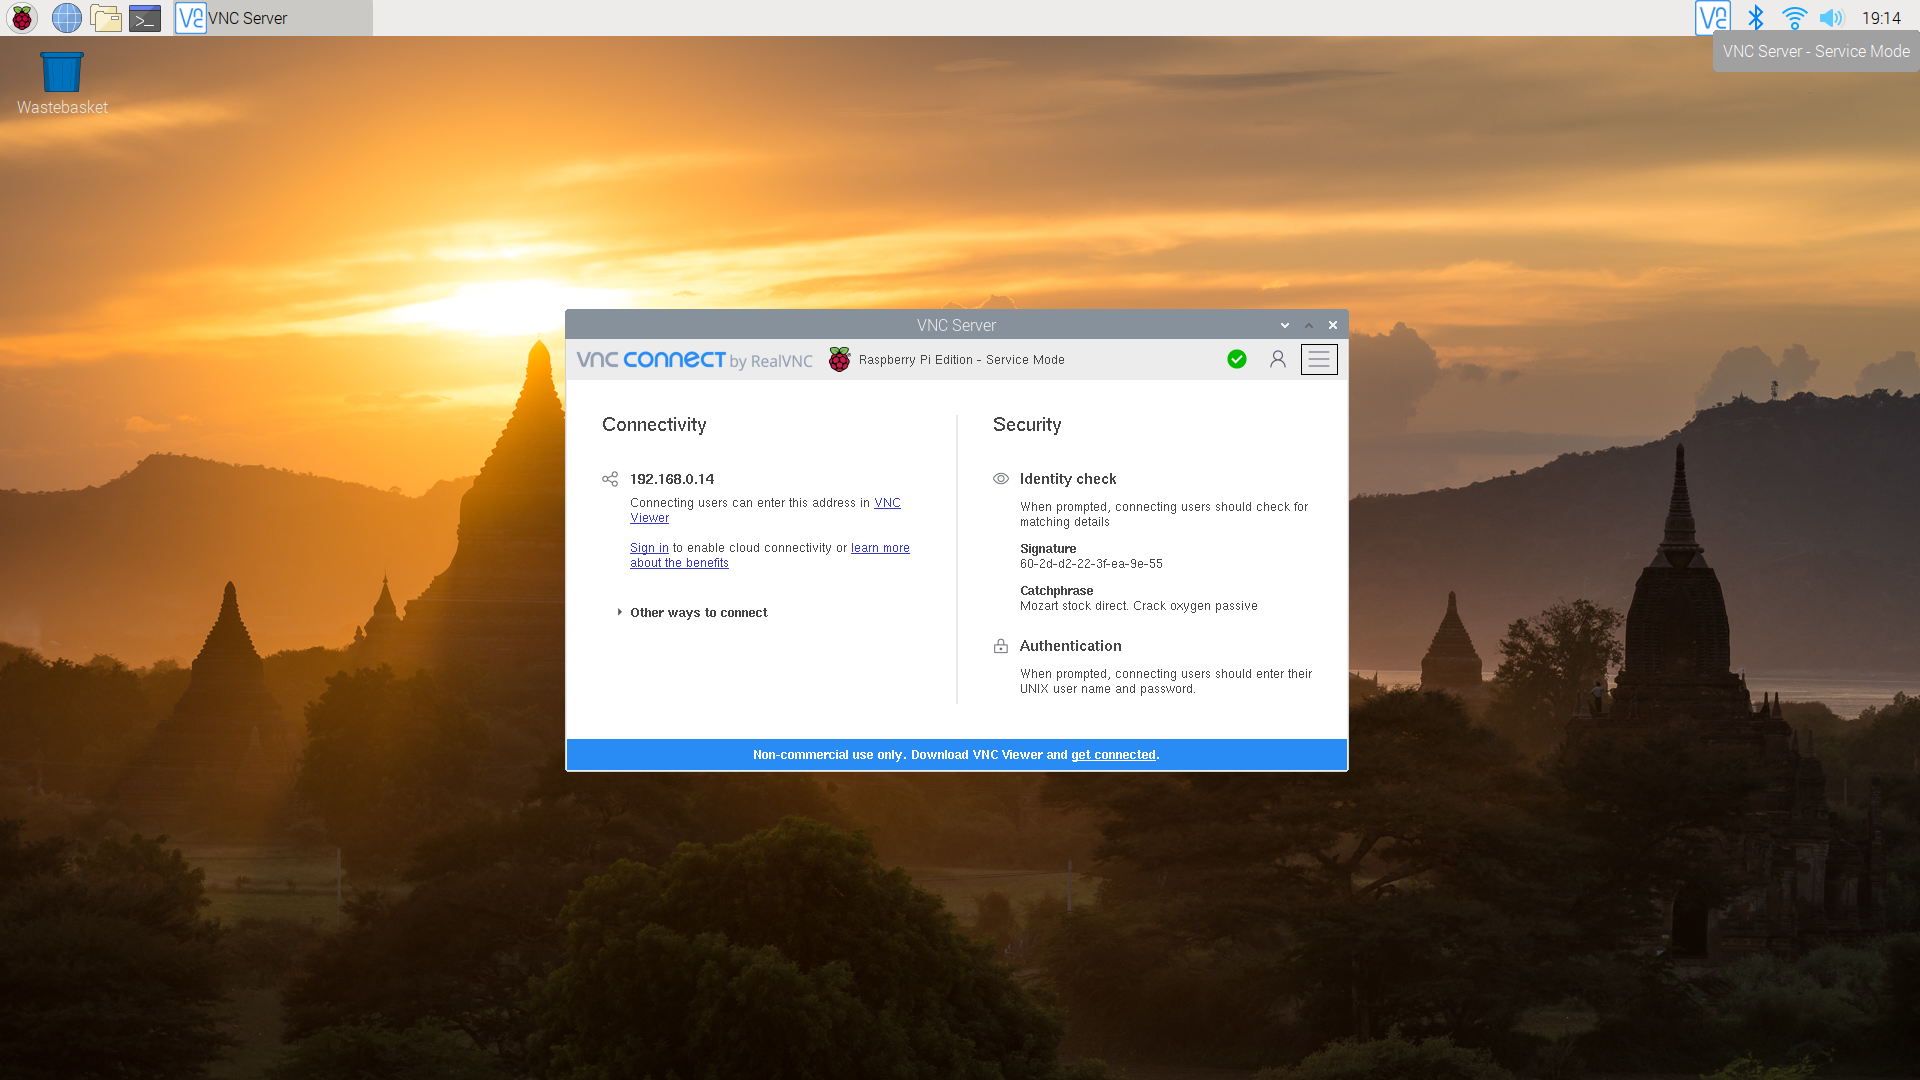
Next, it’s time to install the VNC server. You can do this by typing sudo apt install realvnc-vnc-server in the terminal. Once the installation is complete, you’ll need to enable the VNC server by navigating to the Pi’s settings menu and selecting the VNC option.
Step 3: Install VNC Viewer
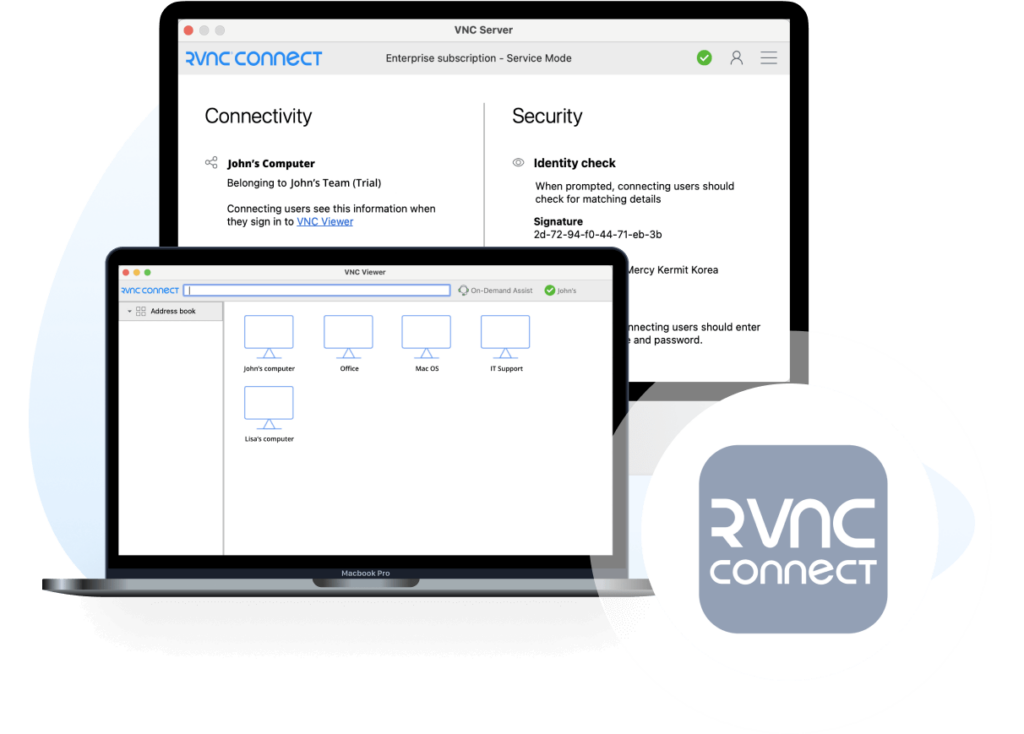
With the server side taken care of, it’s time to set up the client side. Download the VNC Viewer app on your preferred device. Whether you’re using a PC, Mac, or smartphone, VNC Viewer makes it easy to connect to your Pi from anywhere.
Step 4: Connect to Your Pi
Once everything is installed and configured, it’s time to connect. Open the VNC Viewer app and enter your Pi’s IP address. Voila! You should now have full remote access to your Pi’s desktop interface.
Common Challenges and Solutions
As with any tech project, there are bound to be a few hiccups along the way. Here are some common challenges you might face when setting up Pi IoT VNC, along with solutions to help you overcome them:
- Connection Issues: Make sure your Pi and the device you’re connecting from are on the same network. If you’re connecting from outside your home network, ensure that port forwarding is properly configured on your router.
- Slow Performance: Optimize your VNC settings by adjusting the resolution and color depth. This can significantly improve performance, especially over slower internet connections.
- Security Concerns: Always use strong passwords and consider enabling encryption to protect your remote sessions from unauthorized access.
Exploring Advanced Features
Once you’ve got the basics down, it’s time to explore some of the advanced features that VNC has to offer. From automating tasks to setting up multi-user access, VNC can take your Pi IoT projects to the next level. Here are a few features to check out:
- Scripting: Use VNC’s scripting capabilities to automate repetitive tasks and streamline your workflow.
- File Transfer: Transfer files between your Pi and other devices with ease using VNC’s built-in file transfer functionality.
- Multi-User Support: Set up multiple user accounts with different permission levels to collaborate on your projects with ease.
Best Practices for Pi IoT VNC
Now that you know how to set up and use VNC with your Pi, let’s talk about some best practices to ensure a smooth and secure experience:
- Regular Updates: Keep your Pi’s operating system and VNC software up to date to ensure compatibility and security.
- Strong Passwords: Use strong, unique passwords for your VNC sessions to prevent unauthorized access.
- Backup Regularly: Regularly back up your Pi’s data to prevent loss in case of system failure or other issues.
Real-World Applications of Pi IoT VNC
So, how exactly can you apply Pi IoT VNC in real-world scenarios? The possibilities are endless. Here are a few examples:
Home Automation
Use VNC to remotely manage your smart home devices, from thermostats to lighting systems. Whether you’re at home or away, you’ll have full control over your smart home ecosystem.
Remote Monitoring
Set up VNC to monitor critical systems and devices in real-time. Whether you’re running a server farm or managing a fleet of IoT devices, VNC makes it easy to keep an eye on everything from a single location.
Collaborative Projects
Use VNC to collaborate with others on your IoT projects. With multi-user support and file transfer capabilities, VNC makes it easy to work together, no matter where you are.
Data and Statistics
According to recent studies, the global IoT market is expected to reach $1.1 trillion by 2026. With remote management solutions like VNC playing a crucial role in this growth, it’s clear that Pi IoT VNC is more than just a trend – it’s a necessity for anyone serious about IoT.
Additionally, surveys show that over 70% of businesses using IoT solutions rely on remote management tools like VNC to streamline their operations. These statistics highlight the importance of mastering Pi IoT VNC for both personal and professional use.
Conclusion
And there you have it – a comprehensive guide to mastering Pi IoT VNC download and setup. From understanding the basics to exploring advanced features, we’ve covered everything you need to know to take your IoT projects to the next level. Remember, the key to success with Pi IoT VNC is patience, practice, and a willingness to learn.
So, what are you waiting for? Dive in, experiment, and most importantly, have fun! And don’t forget to leave a comment or share this article with your tech-savvy friends. Together, let’s revolutionize the way we interact with technology!
Table of Contents
- Understanding the Basics of Pi IoT VNC
- Why Pi IoT VNC Matters in Today’s Tech World
- Steps to Download and Install Pi IoT VNC
- Common Challenges and Solutions
Exploring Advanced Features
- Best Practices for Pi IoT VNC
- Real-World Applications of Pi IoT VNC
- Data and Statistics
- Conclusion

